Table of Content
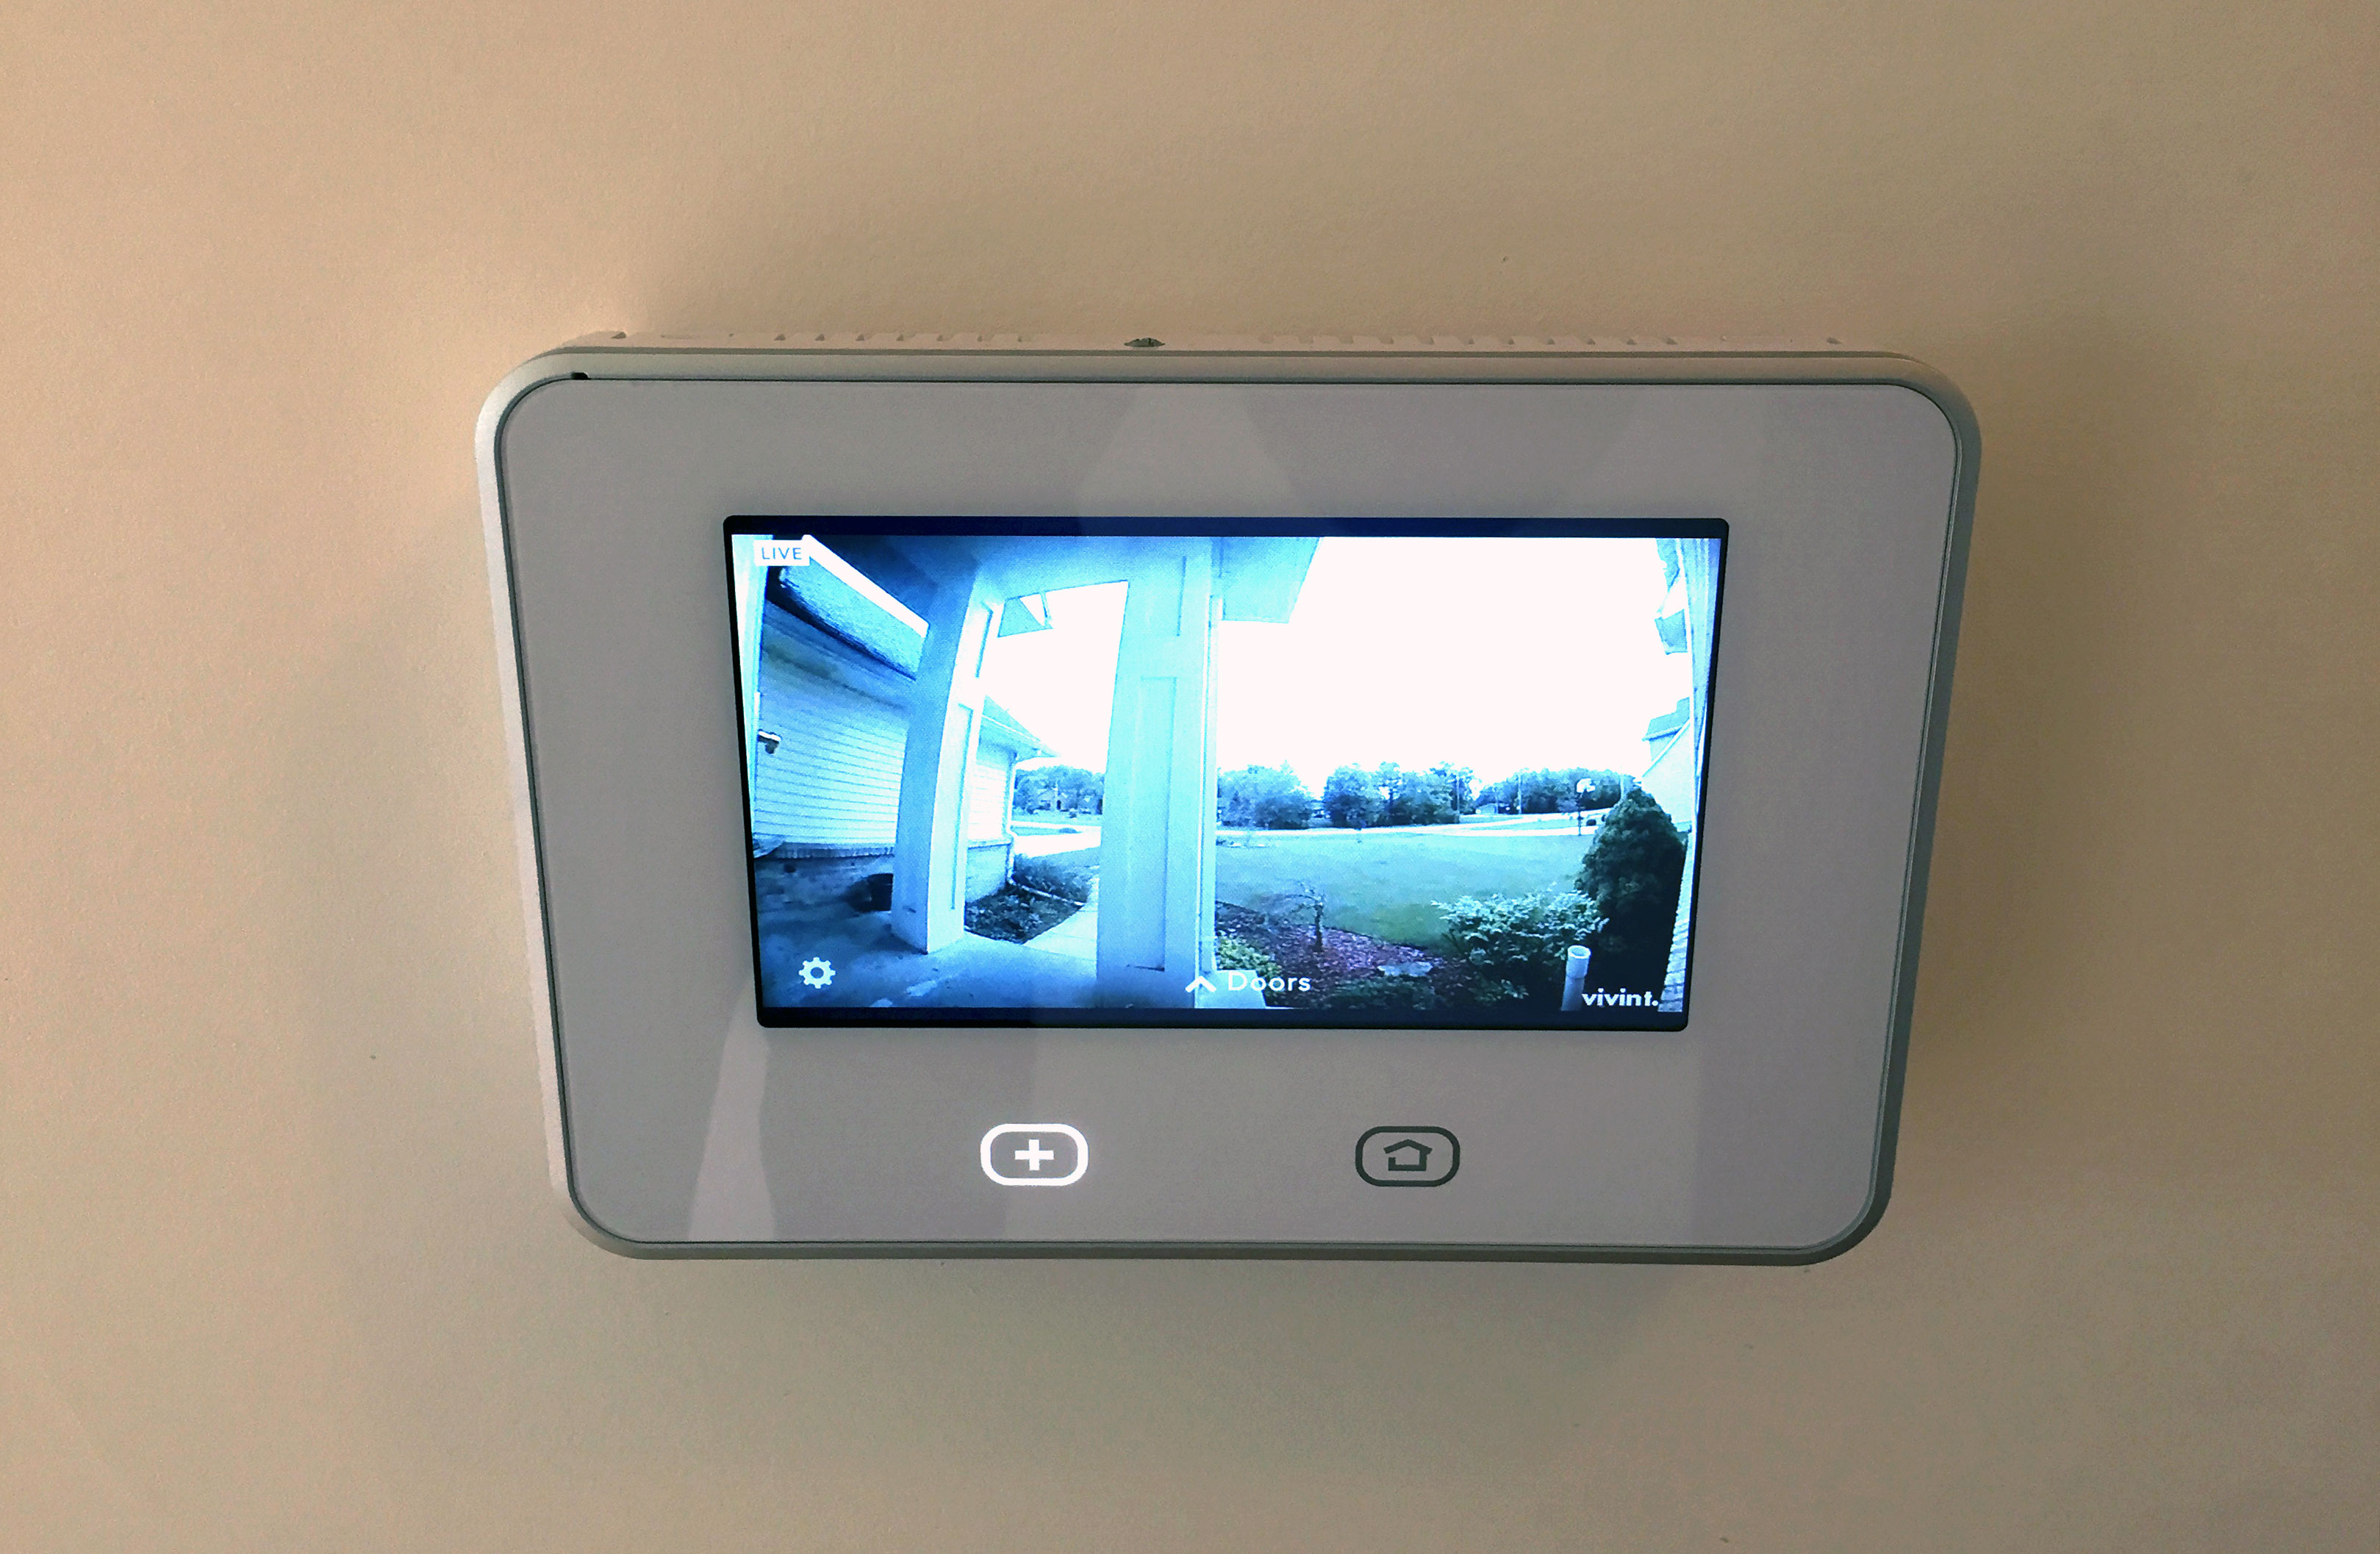
It responds to voice commands and has a touchscreen you can use to control your devices with a tap. Swipe down on the touchscreen for a control panel that shows you an organized overview of everything you have set up. That panel can also serve as a reference point for your family members that need help remembering what smart gadgets are set up and what they're called. Once you've synced your devices and added a couple of rooms and routines to fit your preferences, you're done.
Delivering 4,500-square feet of coverage,this 802.11ac mesh Wi-Fi systemfrom Google offers 1.2Gb/s speeds and integrates with the rest of your Assistant setup for easy setup and control. For each command and target device, update the values in the Realtime Database that correspond to the requested trait. Modify the updateDevice function to update the appropriate Firebase reference and return the updated device state. In functions/index.js, edit the QUERY handler to process the list of target devices contained in the intent request.
How to Connect Mobile Internet to Your PC via Tethering
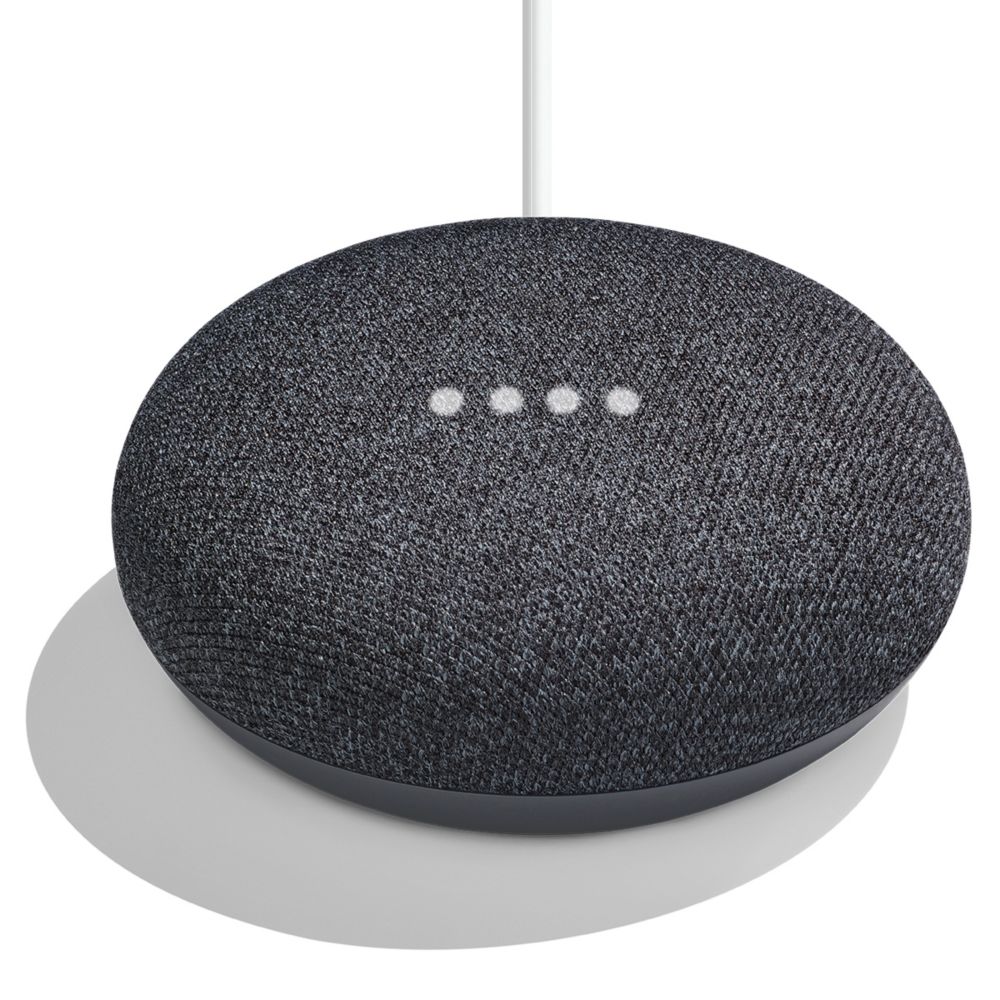
A goofy name like Lampy might be great for a laugh, but the more devices you add, the harder it becomes to remember everything. Instead, brief descriptors like table lamp or corner lamp will work perfectly. You can also learn more about testing and submitting an Action for review, including the certification process to publish your Action to users. You will need to handle a SYNC intent by returning the device metadata and capabilities.

A QUERY intent occurs when the Assistant wants to know the current state or status of a device. You should respond with a JSON payload with the state of each requested device. If you do not see "Test now enabled", click Reset Test to verify testing is enabled. Now that you have installed the dependencies and configured your project, you are ready to run the app for the first time. You can use the default location for the database instance. On the Overview screen in the Actions console, select Smart home.
Connect smart home devices to the Google Assistant
Once the device data has been verified, the server can create the new device entry for the user and remove the pending entry from Firestore. This example uses Angular and AngularFire for the web interface. The mobile application was built in Flutter with FlutterFire, which has the added benefit of being cross-platform between iOS and Android devices.

You can use any Google account—it does not need to be your developer account. Traits Browse the complete list of available device traits, which encapsulate functionality for a device type. Types Browse the complete list of device types supported for Cloud-to-cloud. Allow users to easily discover and link to your Google integration in the Google Home app.
Get updates straight to your inbox
You will need the same Google account on your phone and in the Actions console to fully run this project. Tools Browse the complete list of Cloud-to-cloud tools. VS Code Simplify your smart home development process with the Google Home Extension for VS Code. Be inspired by top smart home brands who are delivering the best smart home experiences for their users on Google.

Update the JSON in the onSync array to include the device information and recommended traits for a clothes washer. Open functions/index.js, which contains the code to respond to requests from the Assistant. You will update the functions that you previously deployed to handle these intents in the following sections. If you would like to run the finished app, then you will still need to create a project in the Actions console. Now that you set up your development environment, you can deploy the starter project to verify everything is configured properly.
Now you can begin implementing the webhooks necessary to connect the device state with the Assistant. This command deploys a web app, along with several Cloud Functions for Firebase. Navigate to the functions folder and install all the necessary dependencies using npm.

Not to mention that you want all of this to happen securely as data travels between users, the cloud, and devices. We can satisfy all of these requirements using services from the Google Cloud Platform and Firebase to create a scalable serverless solution for home devices. With all of these extras, your Google home will be jazzed up with the best security, entertainment and smart home gadgets on the market. And if you want to go Google-crazy, you can always add more gadgets to this list.
This will initialize the necessary APIs and features for your project. The Firebase Command Line Interface will allow you to serve your web apps locally and deploy your web app to Firebase hosting. Choose the Smart home experience card, click Start Building, and you will then be directed to your project console. Home Graph REST A REST API for the Home Graph database. Samples Browse the complete list of Cloud-to-cloud samples.
It keeps your data in sync across client apps through realtime listeners and offers offline support for mobile and web through their native SDKs. Firestore also pairs with Firebase Authentication to control access to data through built-in security rules. We’ve been working with device brands around the world to ensure the Assistant works with all the most popular smart home devices.
Once you have your device, you'll want to put it in the spot where you'll need it the most. Think central gathering places like the kitchen or living room. The Nest Hub is particularly good in the kitchen as it can walk you through recipes step by step. To get the most use out of any smart speaker or display, you'll want it to be within hearing range of your family when they are hanging out at home.
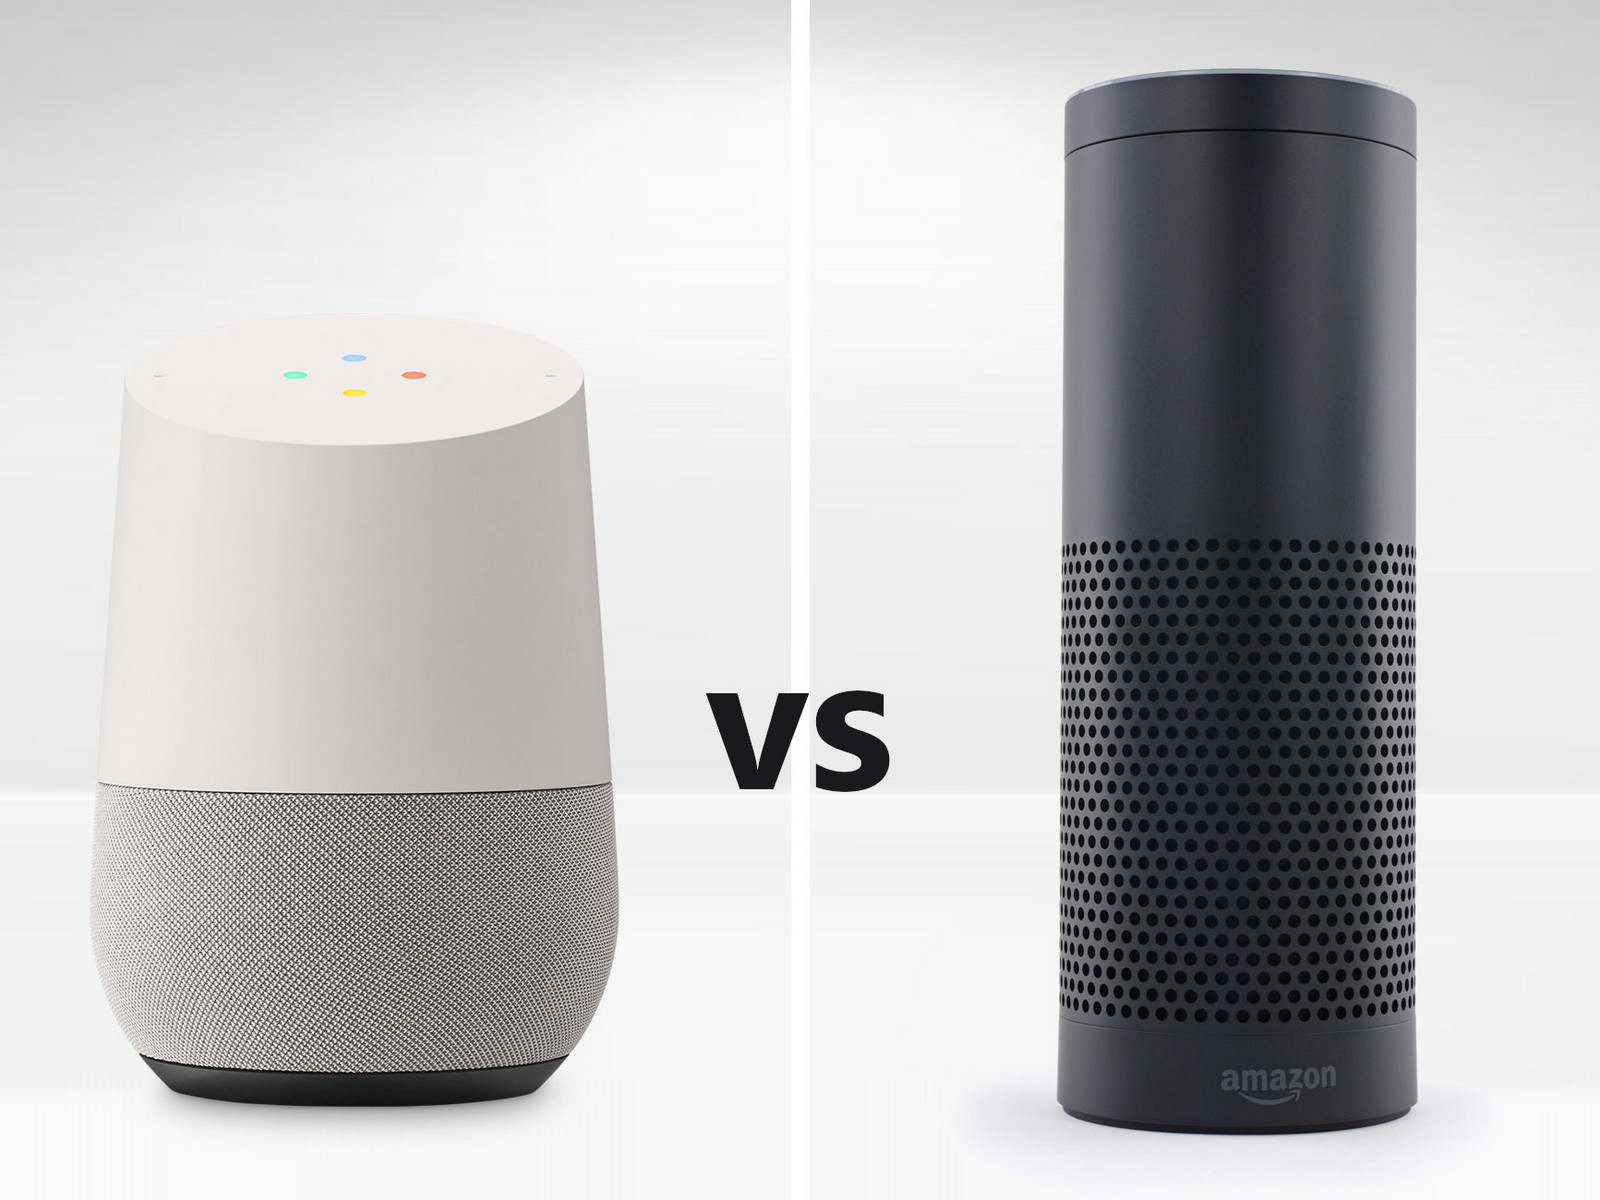
By separating the configuration and state into two documents, we ensure that successful updates received from the device don’t trigger the same logic. This simplifies the function logic and creates a nice separation outgoing and incoming data flows. With the Google Assistant we’re working to make this experience a lot better, so you can easily control all the devices and appliances in your home with just your voice.
Install the Firebase CLI
Over the past year, we’ve made great progress ensuring that the Google Assistant can work with all types of connected devices, and now every major device brand works with the Assistant in the U.S. You successfully integrated the Assistant with a device cloud service using smart home Actions. Speed up your Android mobile app development with Google Play services APIs for Matter apps. Then choose the smart devices that are configured in Home Assistant and select further options. Visit the Google Cloud Platform Console page and then follow these steps to create a service account to synchronize the Home Assistant devices with the Google Home app. Using cloud functions, we can deploy code that triggers when a device config document changes in Firestore, and publish those to the corresponding device in IoT Core.
The following Dart code lists the documents for the current user’s devices using the FlutterFire plugin. Because all of the device data resides in Firestore, building user applications for the web and mobile devices is very straightforward using the native Firebase SDKs. To make things even simpler, the Firebase team provides additional libraries that integrate these SDKs with popular frameworks. Our devices could publish this data as either state updates or telemetry events, and the code would behave the same way. However, because Firestore does the work of persisting device state in our cloud service, we don’t need IoT Core to do the same.


No comments:
Post a Comment